Keller Williams: Rawls Group
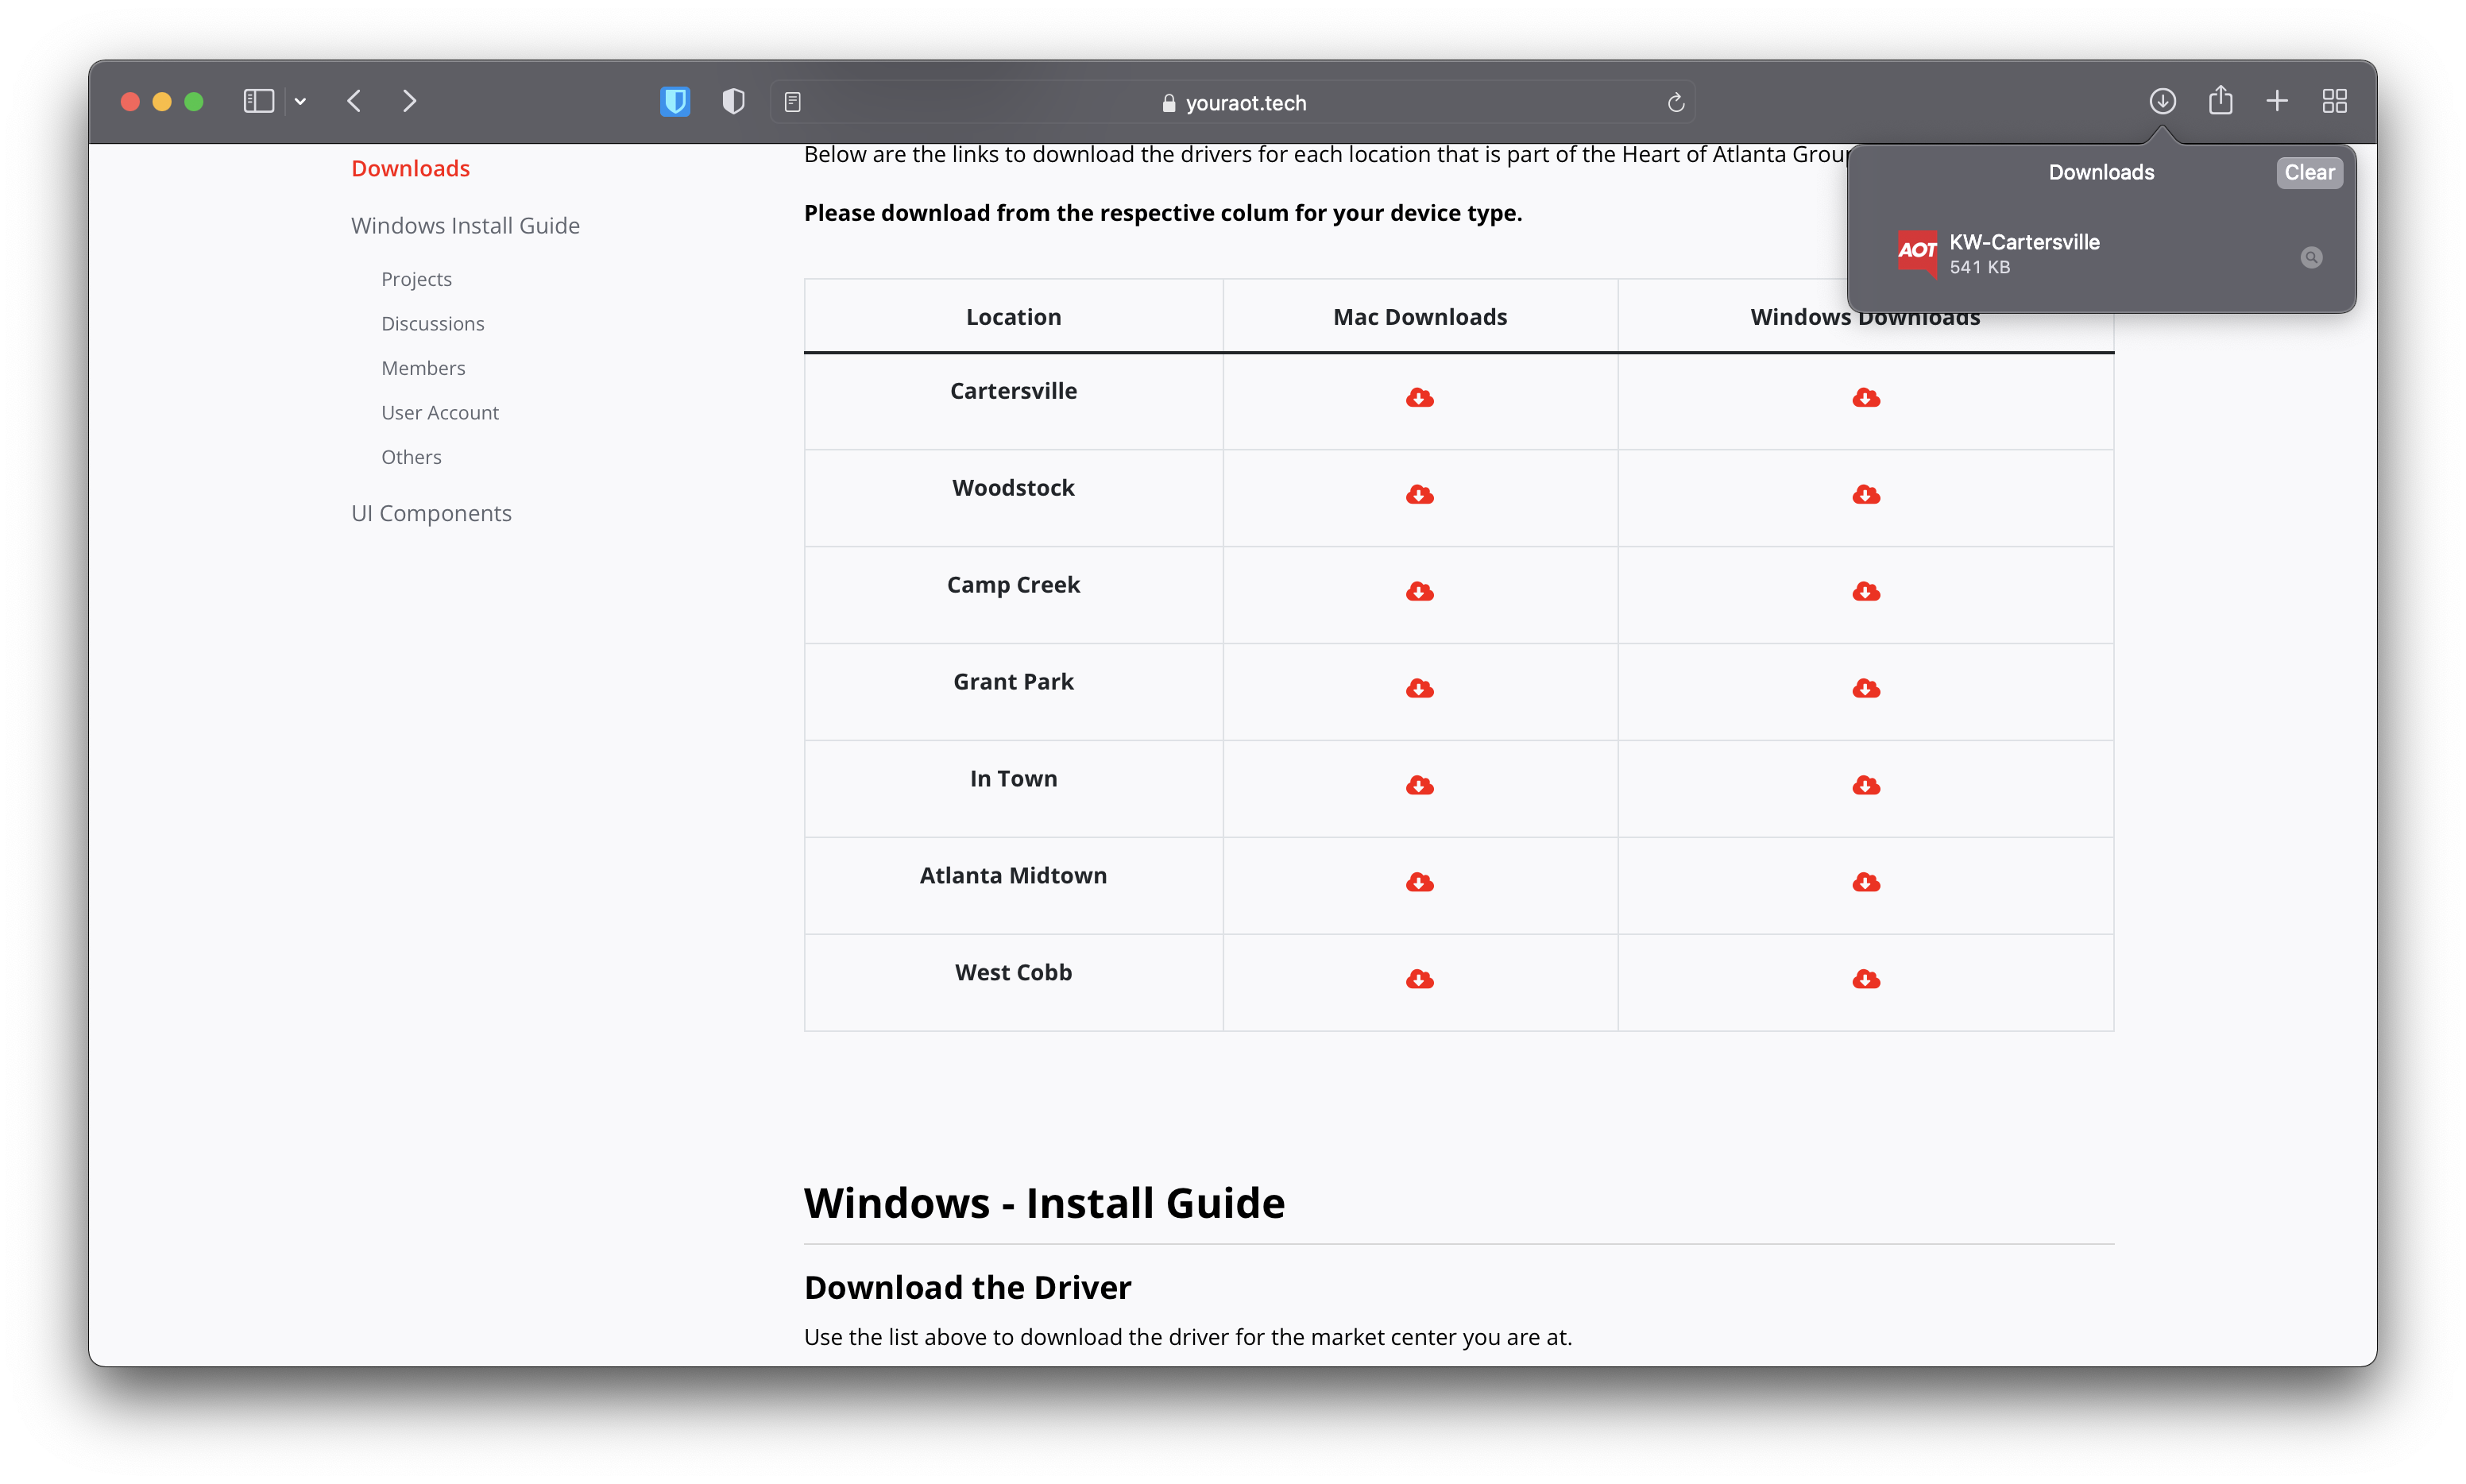
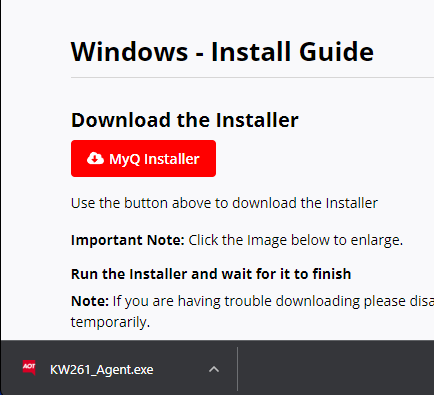
Windows - Install Guide
Download the Driver
MC178 - KWAN - East Cobb MC247 - KWAP - Dunwoody MC271 - KWPR - BrookhavenMC156 - KWFA - Sandy Springs (First Atlanta) MC372 - KWCS - CitySide
Use the button above to download the Installer
Important Note: Click the Image below to enlarge.
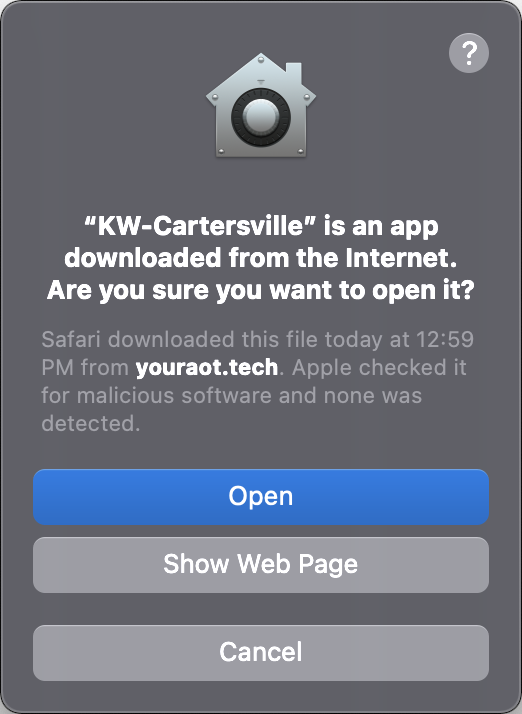
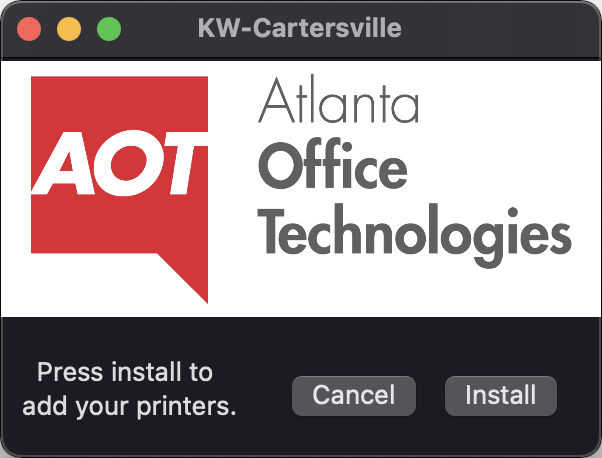
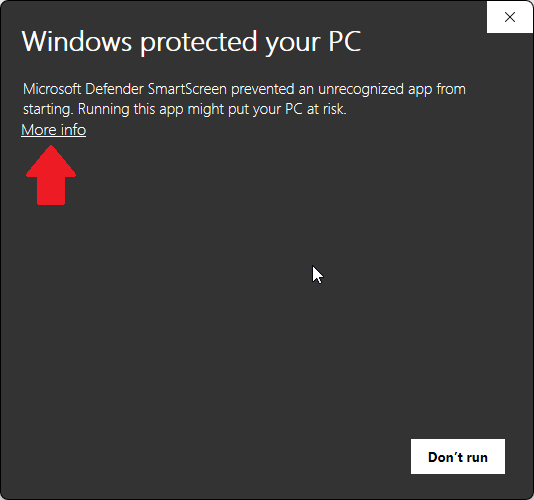
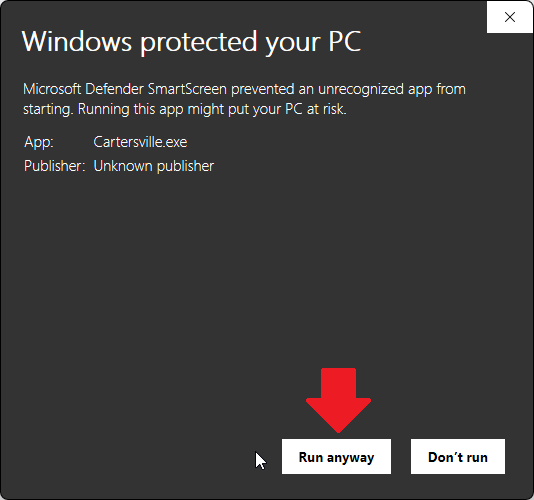
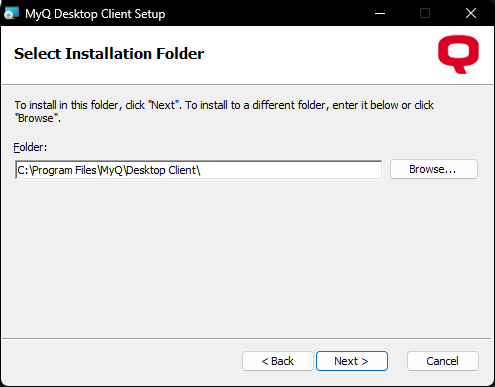
Download then run the Installer and wait for it to finish.
Note: If you are having trouble downloading please disable your antivirus temporarily.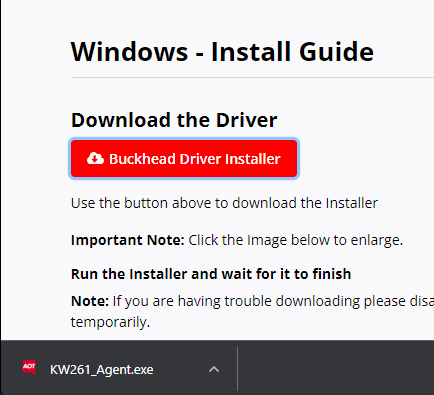
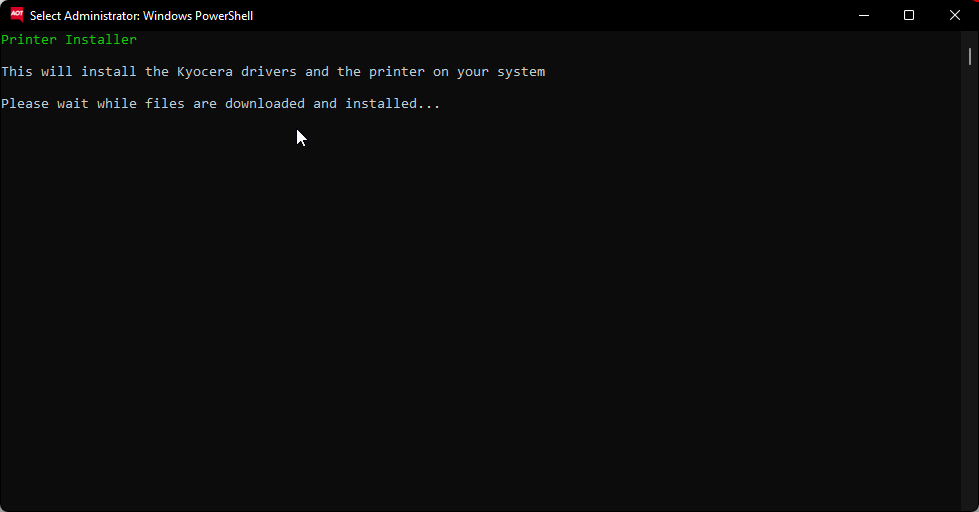
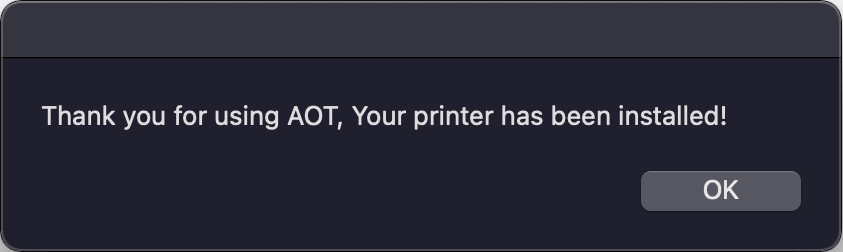
Once the installer finishes it will close automatically and the Printer Properties below will open.
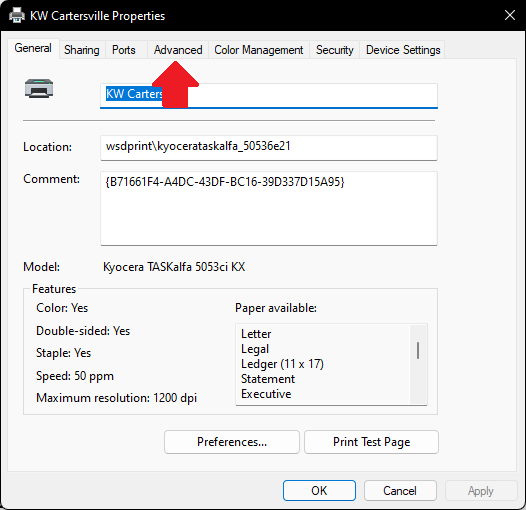
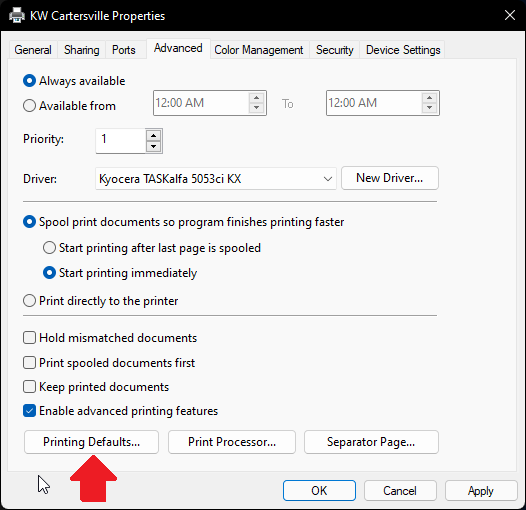
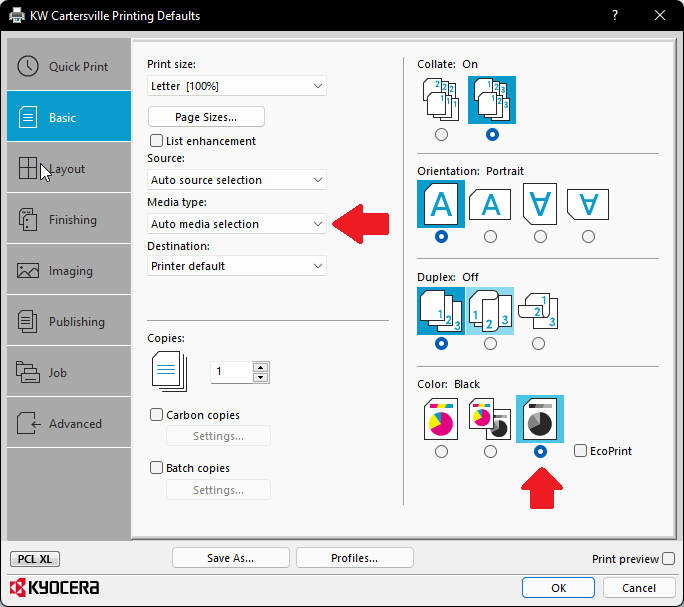
Driver Defaults
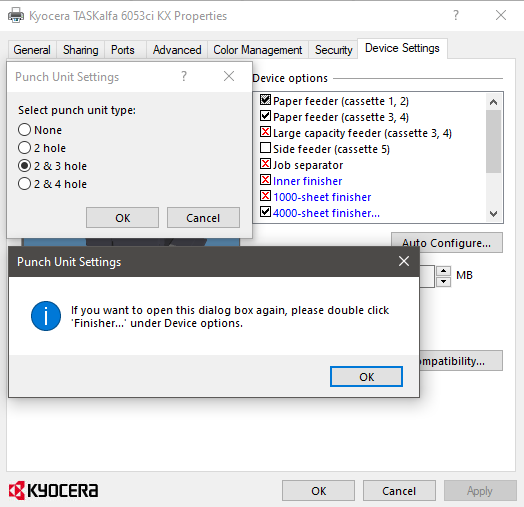
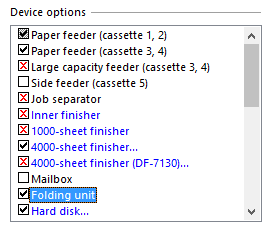
Adding Device Options
Click Device Settings
Put a check mark in the following options:
Paper Feeder (3,4)
4000-sheet finisher... (When the pop up opens choose 2 & 3 hole and press ok, then press ok on the next pop up window)
Folding Unit
Your Driver Install Is complete. Press the OK button on the printer dialog window and proceed to the MyQ Install Guide.
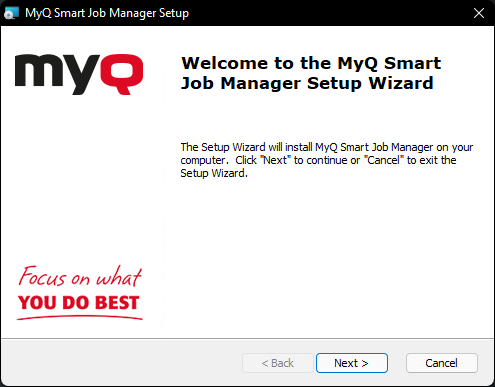
MyQ Install | MC178, MC247, MC271
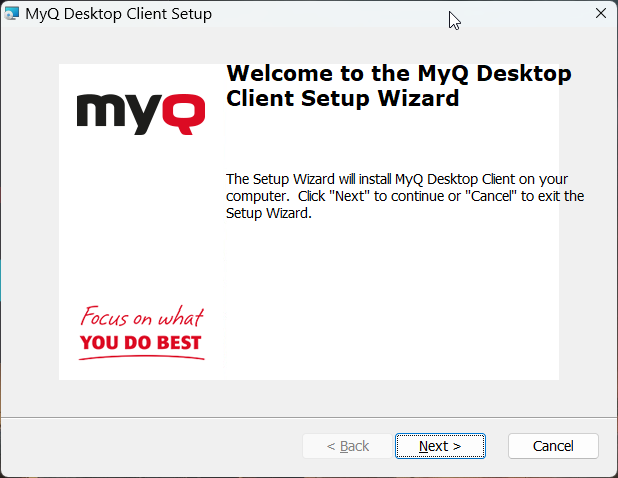
Use the link above to download the MyQ Smart Job Manager.
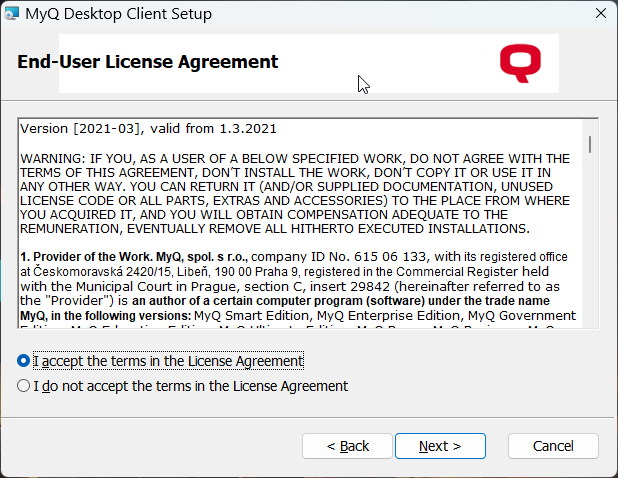
Important Note: Click on images to enlarge.
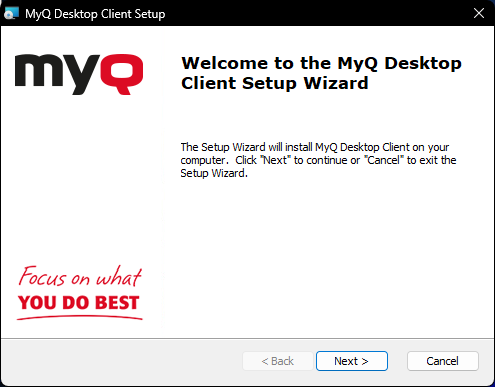
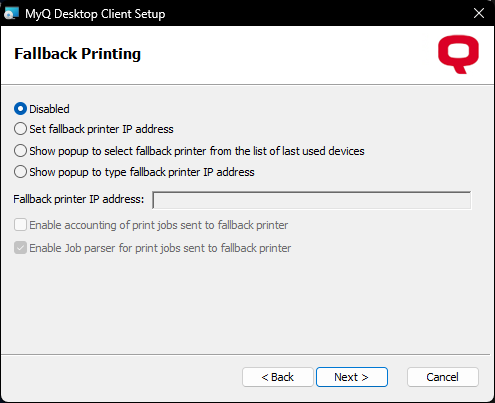
Run the installer by following the steps below.
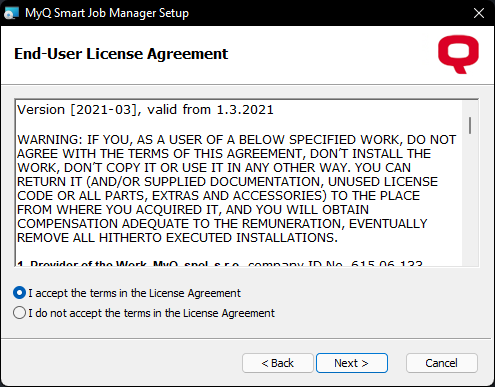
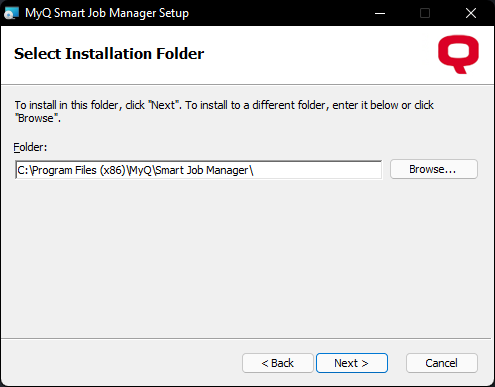
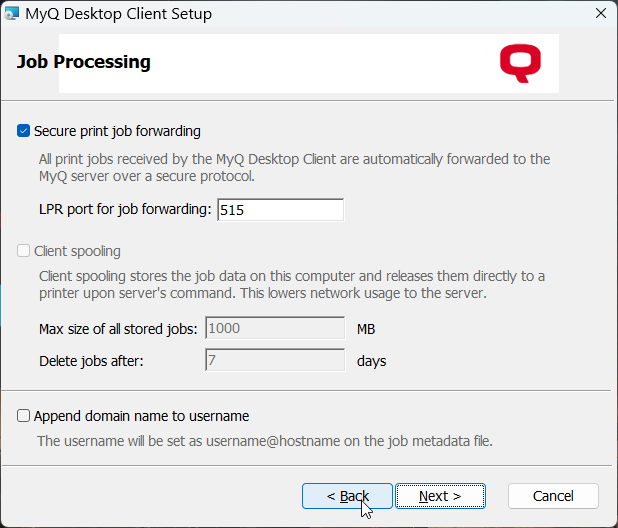
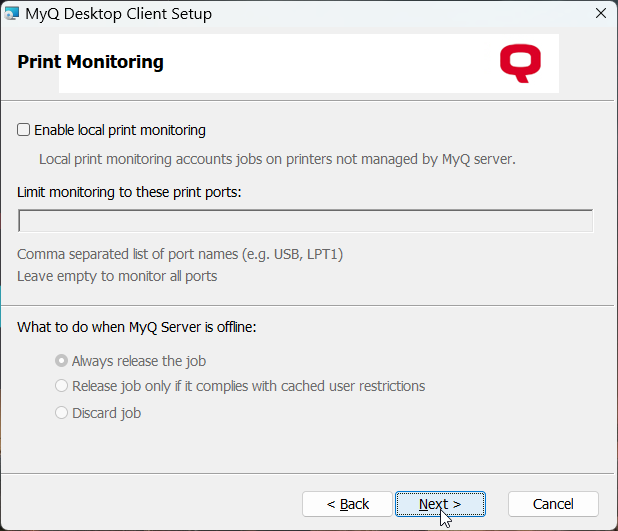
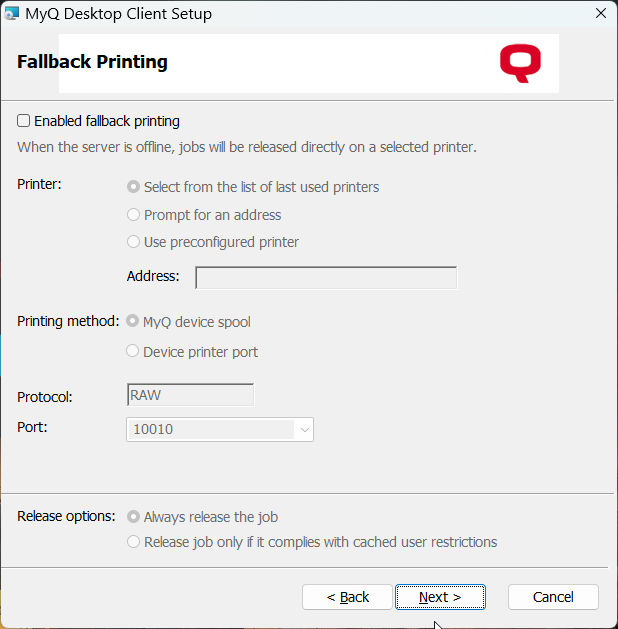
Running the Installer
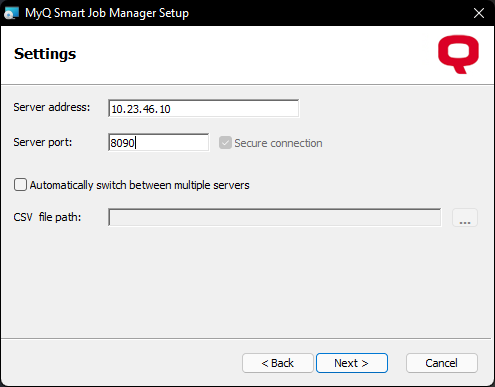
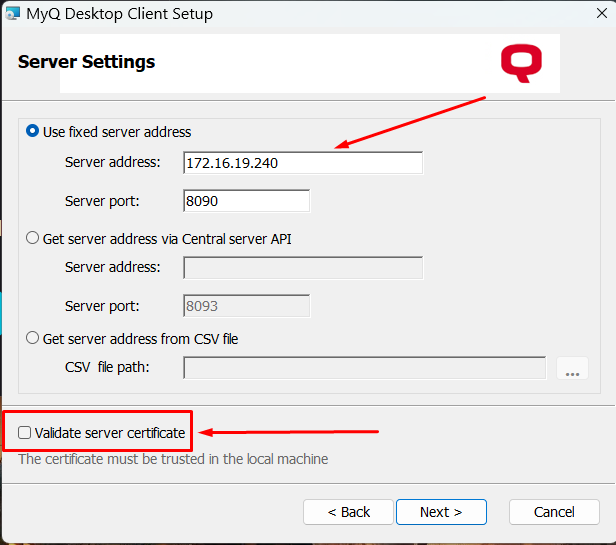
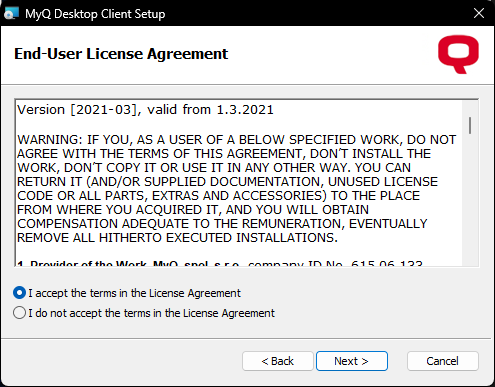
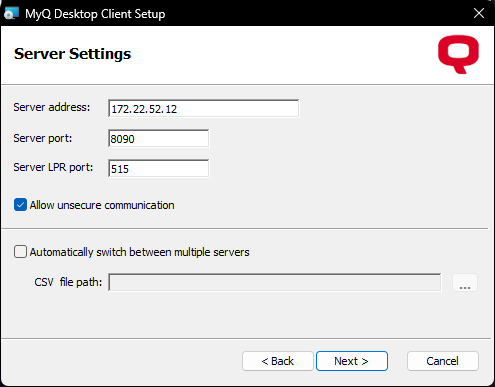
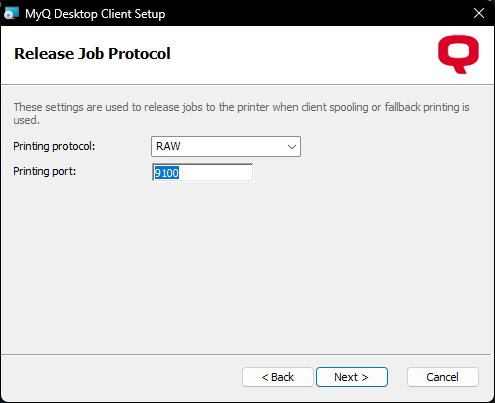
Click next until you reach the screen asking for a server address. Type the server address for the location you are at into the field then click into the server port box so the next button becomes active.
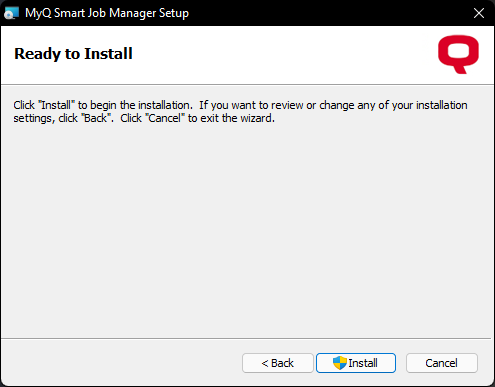
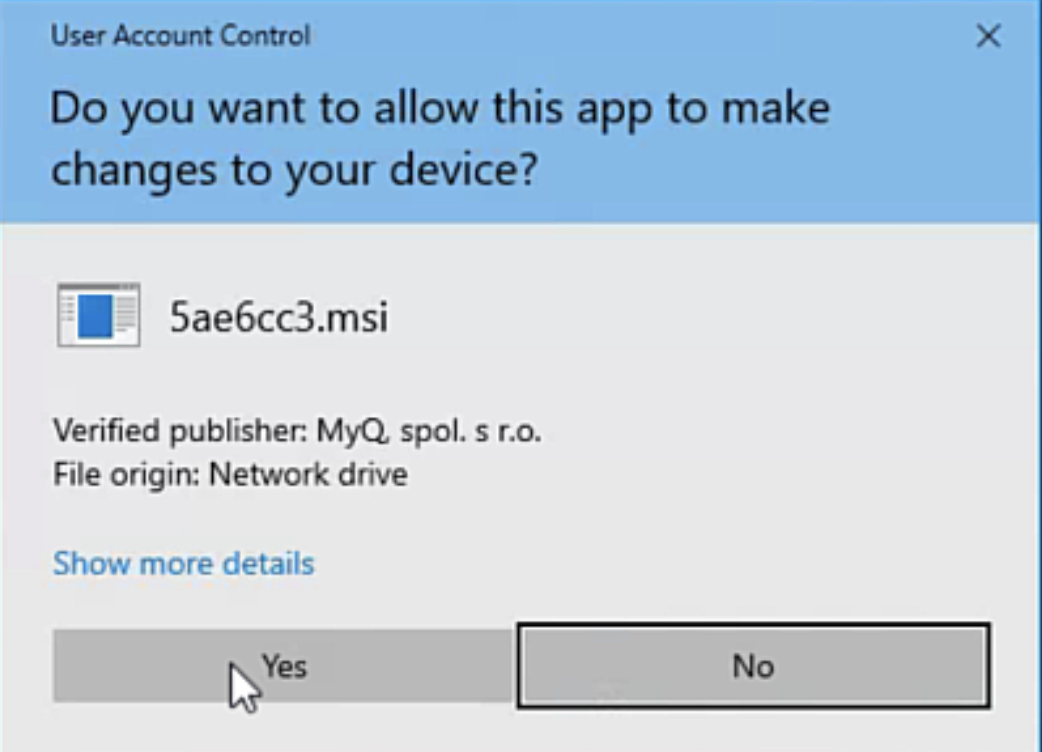
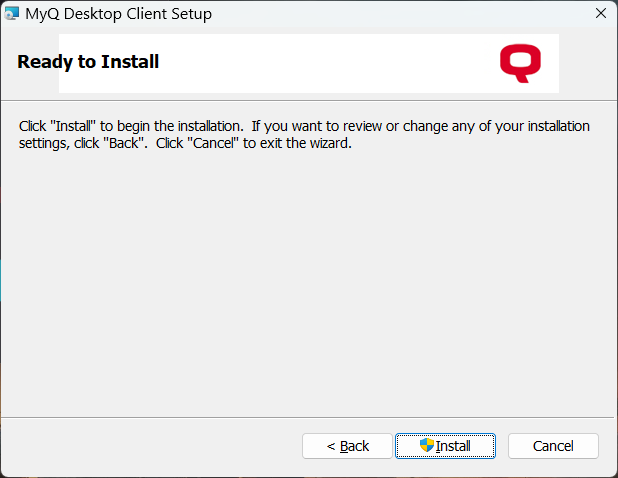
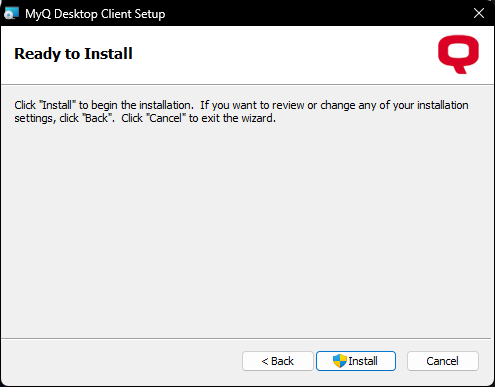
Select Install then select Yes on the next window that opens.
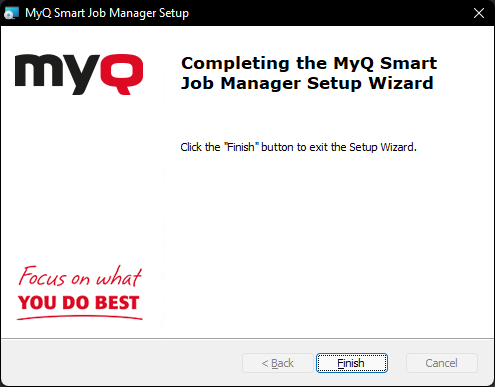
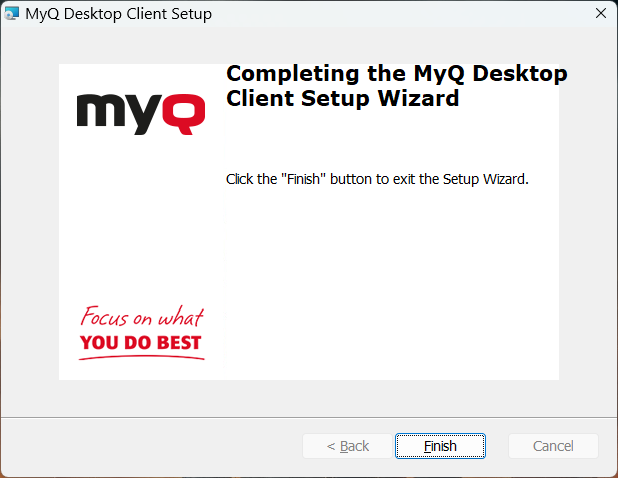
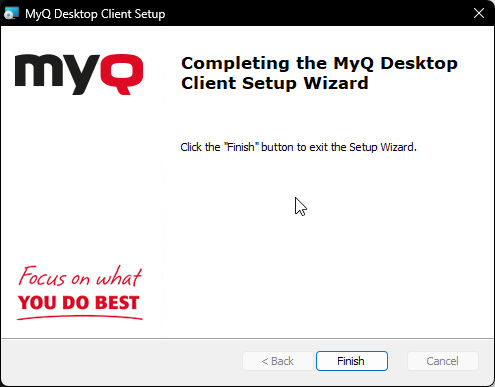
Finally Click Finished.
Important Note: Do not change the Server port, just click in the box so you can click the next button.
| Location | Server Address |
|---|---|
| MC178 - KWAN - East Cobb |
10.0.3.10
|
| MC247 - KWAP - Dunwoody |
192.168.1.10
|
| Location | Server Address | Client ID | Secret |
|---|---|---|---|
| MC271 - Brookhaven |
10.39.26.197
|
1A14C35F-17C2-4950-BE09-2912D6EABD28
|
54bd3a94efdb0c34835979bf5f59fa26f55f51cf
|
Printing with MyQ on Windows
Now that the print driver and MyQ are installed you are ready to start printing!
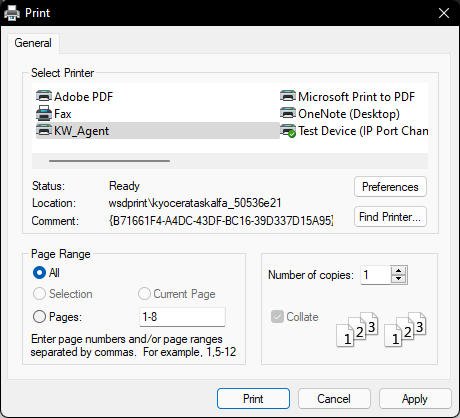
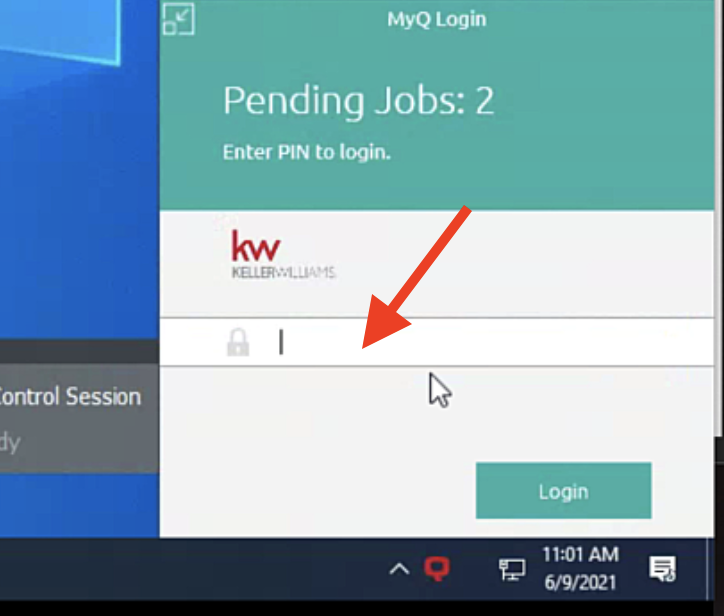
Choose the KW_Agent Printer from the print dialog and press print. The green window in the bottom right will open asking for your pin code. type in your pin code and press Login.
KEY CONCEPT: Users no longer print directly to a KW printer. All print jobs are now going to a network queue named "KW_Agent".
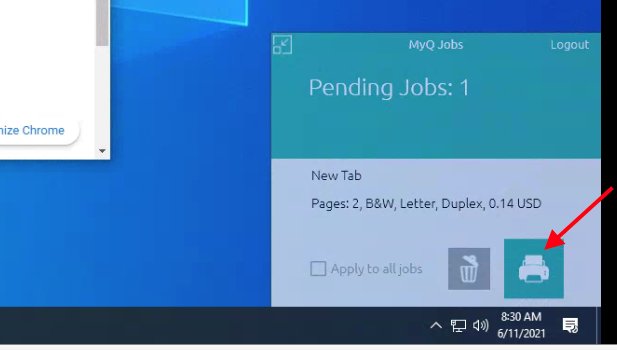
Once you send the print job to the queue, approach ANY of the new Kyocera printers .
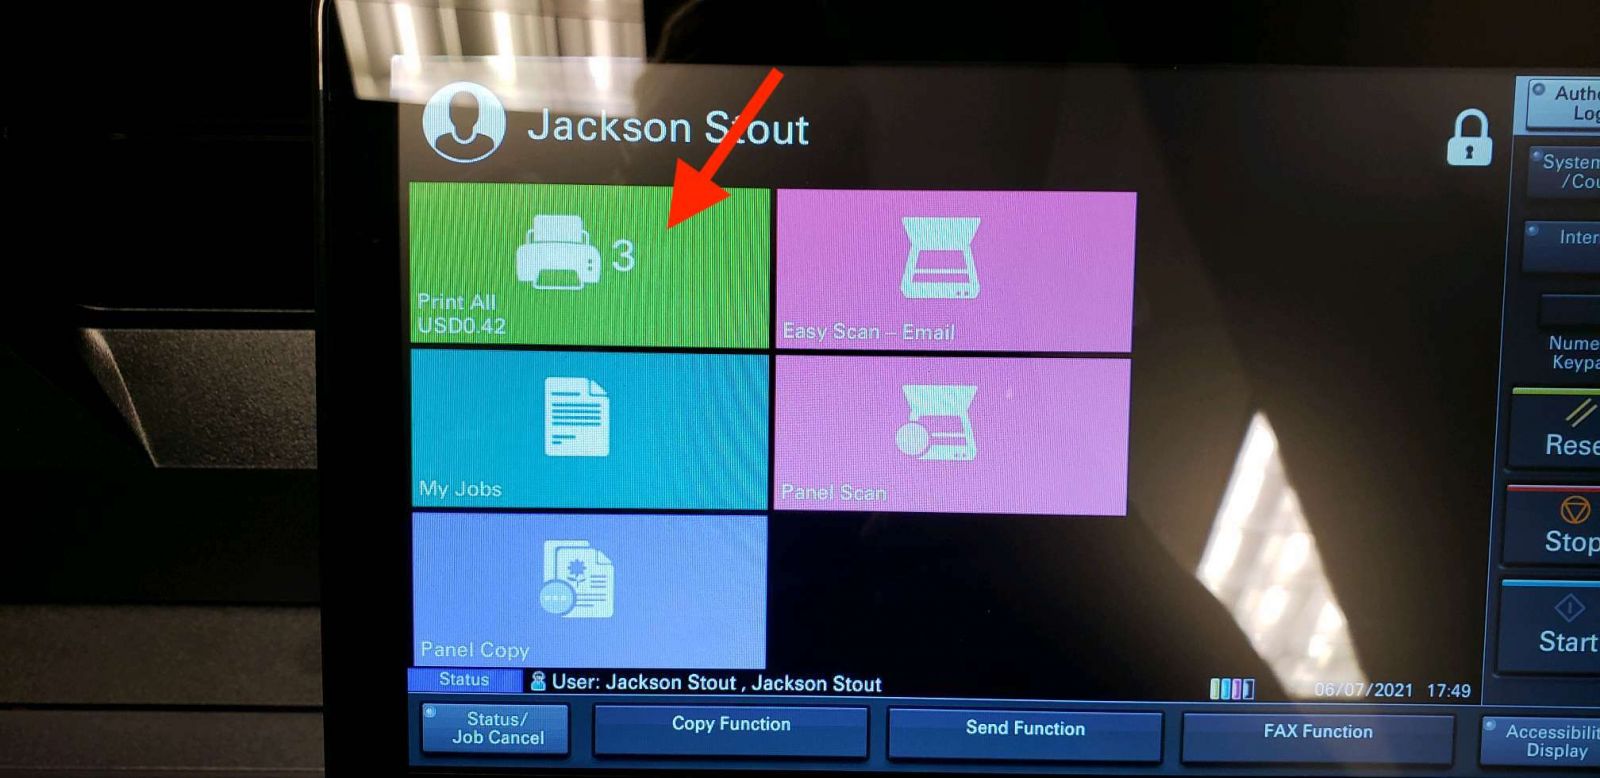
Use your copy code to logon to the copier. Your job will be waiting for you. Press the green Print All button and your job will finish.
MyQ Install | MC156
Download the Installer
MyQ InstallerUse the link above to download the MyQ Smart Job Manager.
Important Note: Click on images to enlarge.
Run the installer by following the steps below.
Running the Installer
Click next until you reach the screen asking for a server address. Type the server address for the location you are at into the field then click into the server port box so the next button becomes active.
Select Install then select Yes on the next window that opens.
Finally Click Finished.
Important Note: Do not change the Server port, just click in the box so you can click the next button..
| Location | Server Address |
|---|---|
| MC156 - KWFA - Sandy Springs (First Atlanta) |
172.16.19.240
|

Printing with MyQ on Windows
Now that the print driver and MyQ are installed you are ready to start printing!
Choose the KW_Agent Printer from the print dialog and press print. The green window in the bottom right will open asking for your pin code. type in your pin code and press Login.
KEY CONCEPT: Users no longer print directly to a KW printer. All print jobs are now going to a network queue named "KW_Agent".
Once you send the print job to the queue, approach ANY of the new Kyocera printers .
Use your copy code to logon to the copier. Your job will be waiting for you. Press the green Print All button and your job will finish.
MyQ Install | MC372
Download the Installer
MyQ InstallerUse the link above to download the MyQ Smart Job Manager.
Important Note: Click on images to enlarge.
Run the installer by following the steps below.
Running the Installer
Click next until you reach the screen asking for a server address. Type the server address for the location you are at into the field then click into the server port box so the next button becomes active.
Select Install then select Yes on the next window that opens.
Finally Click Finished.
Important Note: Do not change the Server port, just click in the box so you can click the next button.
| Location | Server Address |
|---|---|
| MC372 - KWCS - Atlanta Rd |
172.22.52.12
|
| MC372 - KWCS - Douglassville |
192.168.50.20
|
On the Server Settings Page fill in the server address (172.22.52.12) and check the Allow unsecure communication box.
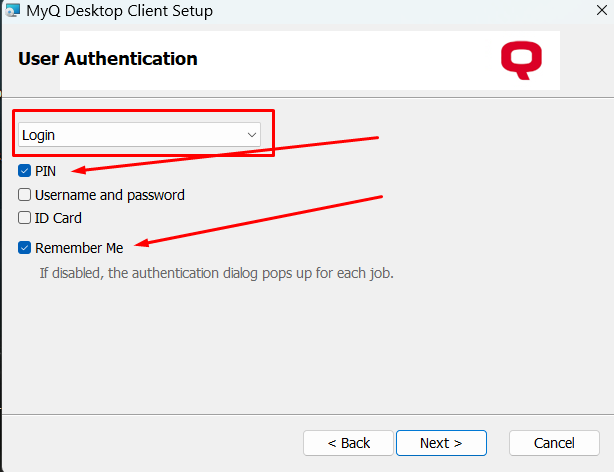
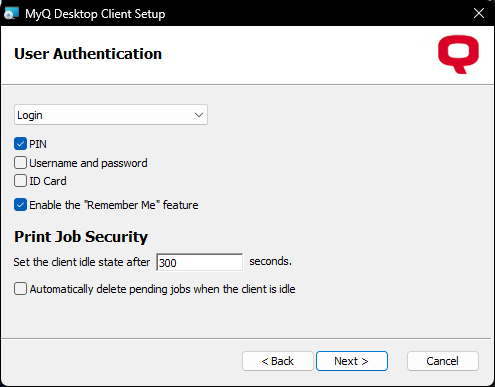
On the User Authentication screen Select the drop down and change to Login, Check PIN and Enable the "Remember Me" Feature.
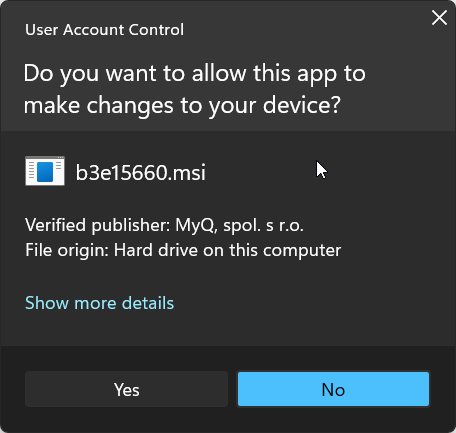
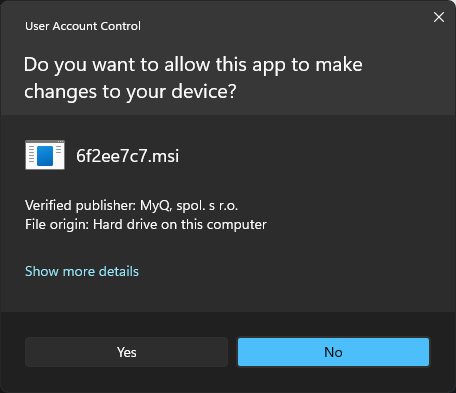
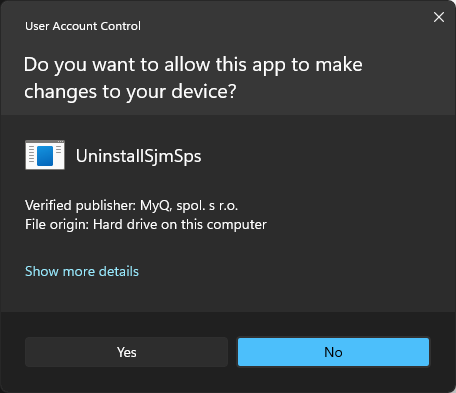
When the following UAC Prompts show up, Click YES
Printing with MyQ on Windows
Now that the print driver and MyQ are installed you are ready to start printing!
Choose the KW_Agent Printer from the print dialog and press print. The green window in the bottom right will open asking for your pin code. type in your pin code and press Login.
KEY CONCEPT: Users no longer print directly to a KW printer. All print jobs are now going to a network queue named "KW_Agent".
Once you send the print job to the queue, approach ANY of the new Kyocera printers .
Use your copy code to logon to the copier. Your job will be waiting for you. Press the green Print All button and your job will finish.
Mac - Install Guide
Download the Driver
MC178 - KWAN - East Cobb MC247 - KWAP - Dunwoody MC271 - KWPR - BrookhavenMC156 - KWFA - Sandy Springs (First Atlanta) MC372 - KWCS - CitySide
Use the list at the top of the page to download the driver for the market center you are at.
Important Note: Click on images to enlarge.
Important Note: It is recommended to use Safari to download the installer.
After clicking on the download icon click the application and continue to run the installer.